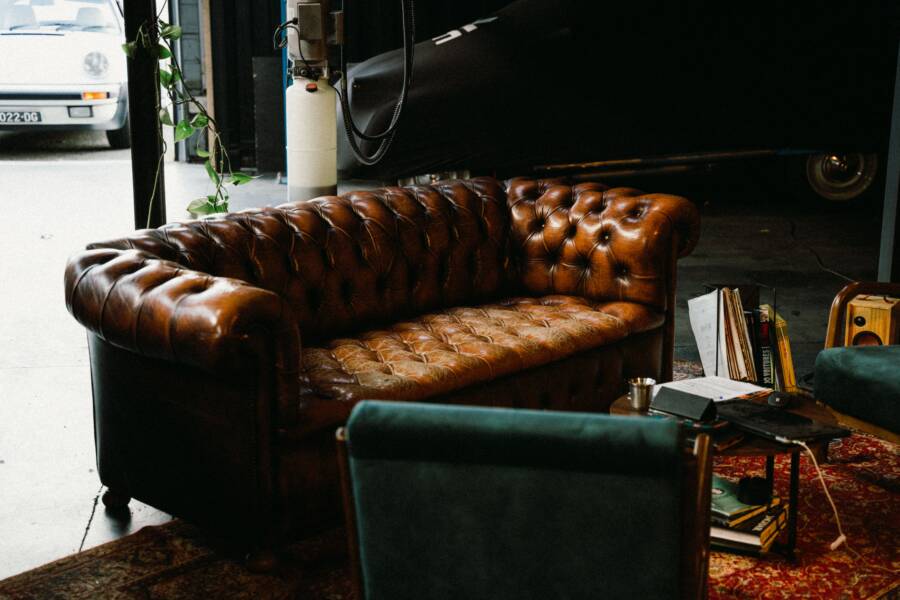
Let the wax harden, lift away what you can, then use gentle heat and a clean cloth to remove the remaining residue. When you find wax on a leather couch, avoid high heat, harsh cleaners, and sharp scraping because each can permanently stain, strip, or scratch the finish.
The safest method depends on whether the couch has protected leather, aniline leather, faux leather, suede, or nubuck. These steps cover fresh candle wax, crayon wax, oily residue, and colored marks without treating every surface as if it were the same.
Wax on a Leather Couch: What to Do First
Keep the spill contained while it’s soft. Don’t rub it, press on it, or spread it across the grain. If possible, remove the affected cushion and place it on a flat, stable surface so you can work without pushing wax into seams.
Let the wax cool and harden naturally. For a large or stubborn spill, place a sealed bag of ice over a thin cloth for 5 to 10 minutes. The cold can make the wax brittle enough to lift, but never place ice directly on leather because condensation and moisture can damage the surface.
Move nearby cushions, blankets, and decorative items away from the spill. If candle wax reaches a seam, welt, or perforation, leave it undisturbed until solid. The safest response to wax on a leather couch starts with containment, not cleaning.
How to Remove Hardened Wax Without Scratching the Leather
Use a plastic card, the rounded edge of a plastic spoon, or your fingernail to loosen the hardened wax. Begin at the outside edge and work toward the center, using short, light movements. Keep the tool nearly flat against the surface instead of pushing downward.
Metal blades, kitchen knives, razor scrapers, and abrasive scrubbers can cut the leather or roughen its protective coating. Stop if the wax feels bonded to the finish or if the surface begins to lift with it. Removing a small amount of wax is safer than removing dye or a topcoat.
Collect loose flakes with a vacuum held slightly above the surface or with a soft upholstery brush. Don’t drag crumbs across the leather, since hard pieces can leave fine scratches. Check the seams as well, but avoid forcing a tool into them.
Use Low Heat to Lift the Wax That Remains
Low heat can help with a thin film left after the solid wax comes away. Cover the spot with a plain white paper towel or a clean, unprinted cotton cloth. Set a hair dryer to its lowest setting, keep it at least 6 inches away, and move it constantly.
Warm the covered area for only 5 to 10 seconds at a time. Press or blot the cloth gently, then replace it with a clean section when wax transfers onto it. Repeat the short heating and blotting cycles until the cloth stops picking up residue.
Don’t use an iron, heat gun, open flame, or concentrated heat. Prolonged warmth can loosen leather dye, dry the hide, soften adhesive, or leave a shiny patch. If the leather feels hot to your hand, stop and let it cool before continuing.
Heat should soften the residue, not the leather. If the surface changes texture or color, stop immediately.
Clean the Oily Film and Colored Wax Stain
Once the solid wax is gone, a faint oily film may remain. Choose a leather cleaner labeled for the couch’s finish, then test it on a hidden area such as the underside of a cushion. Wait until the test area dries before treating the visible spot.
Apply a small amount of cleaner to a soft, damp cloth, never directly onto the couch. Blot and wipe gently with the grain, using minimal moisture. Follow with a clean cloth, then let the leather dry naturally away from radiators, heaters, and direct sunlight.
Colored candle wax and crayons require extra care because their pigments can remain after the wax disappears. A compatible cleaner may remove a light mark from protected leather, but repeated rubbing can spread the color or create a pale spot. If pigment remains after one gentle cleaning attempt, contact a professional leather technician.
Choose the Right Method for Your Leather Finish
Leather finishes respond differently to heat, moisture, and cleaning products. Protected or pigmented leather has a sealed surface and usually tolerates careful spot cleaning better than aniline leather. Semi-aniline leather has a lighter protective coating, while aniline leather has little or no surface coating and can absorb oils and color.
Corrected-grain leather often has a coated or embossed surface that may show gloss or texture changes after scraping. Faux leather is synthetic, so its care instructions may call for a different cleaner. Suede and nubuck have a raised nap, and rubbing them with a smooth-leather cleaner can flatten or stain that texture.
Check the manufacturer’s care label, product guide, or warranty before applying heat or cleaner. For unfinished, cracked, peeling, damaged, or very light-colored leather, professional treatment is the safer choice. The finish type matters more than the size of the wax spill.
Mistakes That Can Turn a Small Wax Spill Into Permanent Damage
Several common cleaning products cause more harm than candle wax. Avoid these methods:
Rubbing soft wax pushes it into the grain, seams, and perforations.
Sharp tools can score the surface or remove the topcoat.
Acetone and nail polish remover can dissolve finish and dye.
Alcohol and household degreasers may dry the leather or leave a pale ring.
Colored paper towels can transfer their own dye.
Soaking the area can create a dark edge as moisture dries.
Heavy oil or conditioner can trap residue and make the mark harder to clean.
Don’t keep working because a stain hasn’t disappeared after one attempt. DIY stain removal can spread pigment, create uneven color, or leave a darker ring around the original spot. Before using any product, test it in a hidden location and allow the leather to dry completely.
Pause and seek professional help if the leather changes color, becomes sticky, develops a glossy patch, or starts peeling. Those signs indicate damage to the finish, not leftover wax. More cleaning can make the repair larger.
Condition and Protect the Couch After Wax Removal
Condition the couch only after the wax and oily film are gone and the leather is fully dry. Use a small amount of conditioner approved for that leather type, and test it in a hidden area first. Apply a thin, even coat with a clean cloth rather than saturating the repaired section.
Heavy oils, petroleum-based products, and household furniture polish can darken leather or leave a greasy surface. Follow the product directions and remove any excess before it dries. If the couch has suede, nubuck, or a manufacturer’s no-conditioner instruction, skip conditioner.
Prevent another spill by placing candles on a stable tray away from the couch edge. Keep crayons and art supplies off leather seating, especially when children are using them. Clean fresh spills promptly, and follow the couch maker’s regular care schedule instead of conditioning whenever the leather looks dry.
Conclusion
The safest sequence for wax on a leather couch is simple: harden the wax, lift it with a plastic tool, use brief low heat for thin residue, and clean with a product compatible with the finish. Let the area dry fully before applying a small amount of approved conditioner.
Heat-sensitive, unfinished, cracked, peeling, or strongly colored leather can suffer permanent damage during home treatment. When the surface changes or the pigment remains after gentle cleaning, a leather professional can prevent a small spill from becoming a larger repair.