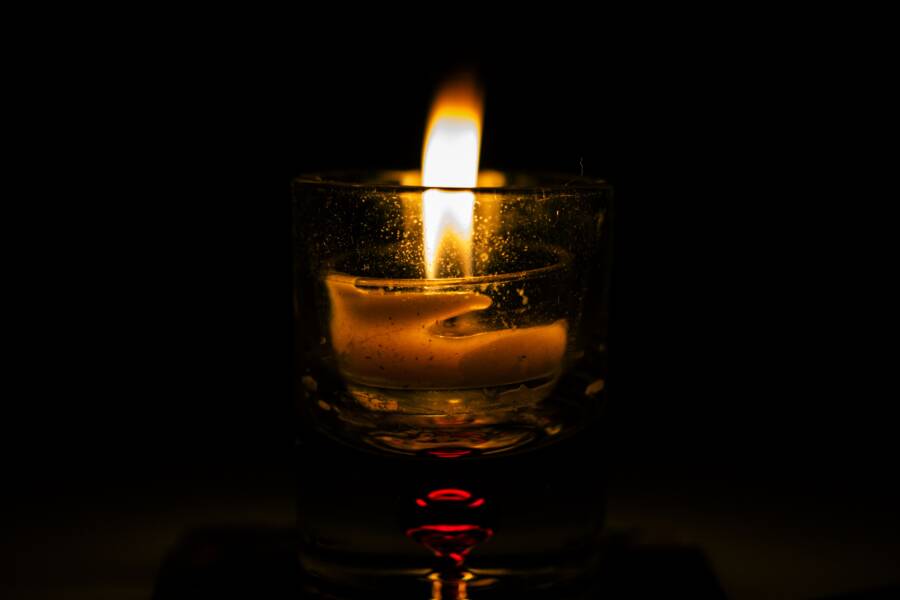
To remove wax from a glass jar for reuse, harden or soften the wax, lift out the bulk, then wash away the oily residue. Start with the freezer for a thin layer, or use hot tap water around the jar when a thick block fills the base.
The amount of wax, jar size, and heat tolerance determine which method fits. With careful cleaning, an old candle jar can become a useful container without cracked glass or lingering fragrance.
How to Remove Wax From a Glass Jar for Reuse
The easiest way to remove wax from a glass jar is to separate the job into four stages. First, harden or soften the wax. Next, remove the large pieces, pull out the wick and metal tab, then wash the remaining film from the glass.
After cleaning, rinse the jar thoroughly and let it dry completely. Before storing food or other sensitive items, the surface must be free of cracks, chips, soot, fragrance oil, and visible wax.
If the glass still feels greasy or smells strongly scented, wash it again. A clean-looking jar can still hold oily residue around the base, especially after burning fragranced wax.
Gather These Simple Tools Before You Start
Set out a freezer, spoon or dull butter knife, paper towels, dish soap, a soft sponge, hot tap water, and a bowl or sink. Heat-resistant gloves or kitchen tongs can help when you handle warm glass or softened wax.
Paper towels protect the counter and collect loose wax before it spreads. Sharp knives can scratch or chip the jar, while abrasive scrubbers may leave fine marks on the glass.
Boiling water is also a poor choice because sudden heat can crack cold glass. Keep wax-coated tools out of the sink until you have wiped them clean, since wax can harden inside plumbing.
Use the Freezer Method for a Small, Hard Wax Layer
Let the jar cool completely before placing it in the freezer. Set it upright on a towel and freeze it for about 1 to 2 hours, allowing the wax to contract away from the sides.
Remove the jar and work around the wax with a spoon or dull butter knife. Keep the tool nearly parallel to the glass, apply slow pressure around the edges, and lift the wax out in pieces.
If the wax doesn’t release cleanly, freeze the jar for another 30 minutes and try again. Don’t twist a tool against the glass or force a stuck section, because concentrated pressure can chip the rim or base.
Try Warm Water When the Jar Holds a Thick Wax Block
A thick wax block often releases after gentle warming. Place the jar upright inside a heat-safe bowl or sink, then add hot tap water around the outside of the jar.
Keep the water out of the jar if possible. Warm the glass for 10 to 15 minutes, then use a spoon to lift softened wax from the base and sides.
Never pour liquid wax down the drain, because it can harden inside the plumbing. Don’t use boiling water, place a cold jar on a hot surface, or set the glass over a burner.
Remove Sticky Residue Without Scratching the Glass
After removing the main wax, wipe the inside with dry paper towels. Several dry passes often remove more oily film than one wet wipe, and they prevent wax from spreading across the glass.
For stubborn spots, put a small amount of cooking oil on a paper towel and rub the residue until it loosens. Use only enough oil to cover the affected area, then wash the jar with warm water and dish soap.
Rinse until the water runs clear, then dry the jar with a clean towel and let it air-dry. If you used oil, wash the jar twice. Never mix cleaning products, and don’t use a metal scraper.
Clean the Wick Tab, Soot, and Candle Odor
The wick tab may remain attached to a thin ring of wax at the bottom. Loosen that spot with warm water or the edge of a spoon, then lift the tab with your fingers or tongs.
Dish soap and a soft sponge usually remove black soot from the sides and base. Work gently around printed labels or painted decoration, since scrubbing can remove the finish along with the dirt.
Fragrance oils can cling after the wax disappears. Wash the jar more than once and let it air-dry fully before judging the odor. A strong scent, oily film, or dark stain means the jar is better suited to craft supplies than food storage.
Check Whether the Glass Jar Is Safe to Reuse
Inspect the rim, sides, and base under bright light. Reject any jar with cracks, chips, sharp edges, cloudy areas that don’t wash away, heat damage, or a loose or damaged base.
Ordinary candle jars aren’t automatically safe for canning, ovens, microwaves, or high heat. Glass made for a candle may not have the specifications needed for cooking or food preservation.
Low-risk uses include cotton swabs, buttons, desk items, and nonfood craft materials. A small plant can also work as a decorative holder, provided the jar remains stable and doesn’t develop standing water that damages furniture.
Store food only when the jar is clean, intact, odor-free, and suitable for that purpose. When its history or heat tolerance is unclear, choose a nonfood use instead.
Avoid These Wax Removal Mistakes
Most breakage comes from force or sudden temperature changes. Don’t scrape with a kitchen knife, place the jar over direct flame, or put cold glass on a hot surface.
Protect the work area with paper towels, and handle warm glass with gloves or tongs. Keep your movements slow, especially when lifting wax that has bonded to the bottom around the wick tab.
Let removed wax cool and solidify before placing it in the trash. Dispose of wax, oily towels, and damaged glass according to local waste rules, and never flush wax or rinse it into a drain.
Conclusion
Patience makes the process safer: harden or soften the wax, remove the bulk, loosen the residue, wash the jar, and inspect the glass. The freezer suits thin layers, while hot tap water works better for thick blocks, but both methods require gradual temperature changes.
If the jar is cracked, heavily stained, or strongly scented, don’t use it for food or heat. Choose a low-risk purpose that matches its condition, such as storing buttons, craft supplies, or desk items.