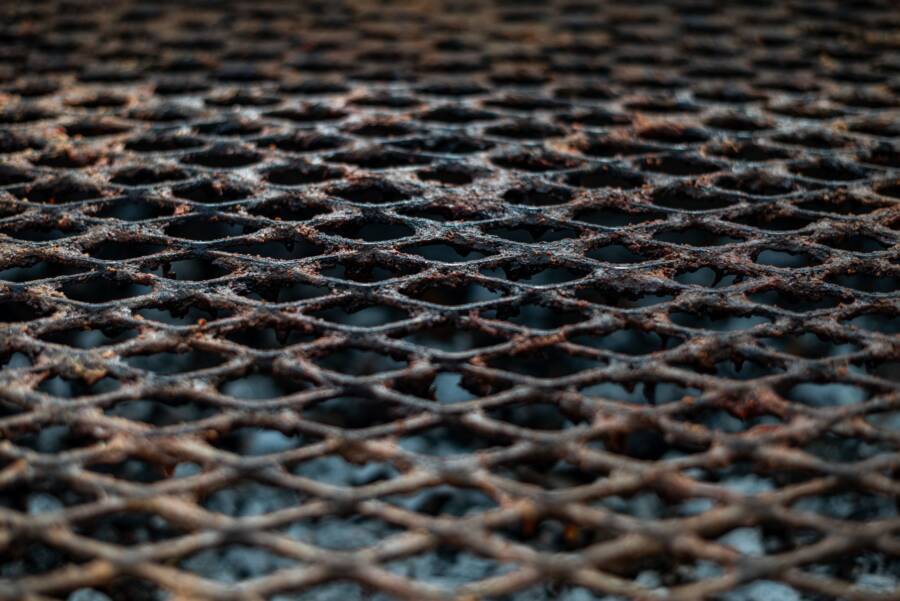
Surface rust on a metal bed frame usually comes off with cleaning, abrasion, and a rust treatment. Remove the mattress and hardware, brush away loose corrosion, then seal the bare metal with primer and paint.
The method depends on whether you see a thin orange film or deep pitting. The steps below cover the tools, safe disassembly, rust removal methods, structural checks, finishing, and prevention.
How to Remove Rust From a Metal Bed Frame
For how to remove rust from a metal bed frame, follow this order: disassemble it, wash away dirt and grease, remove loose rust, treat the remaining corrosion, dry the metal, then prime and paint it. Work outdoors or in a well-ventilated garage, and place the frame on a drop cloth to protect the floor.
Keep every surface dry before applying a coating. Rust can return beneath paint when moisture remains in joints, bolt holes, or hollow tubing.
Gather the Right Tools and Supplies
Collect rubber gloves, safety glasses, a dust mask, drop cloths, mild dish soap, clean rags, a wire brush, and sandpaper in coarse, medium, and fine grits. You may also need white vinegar, a commercial rust remover, a rust converter, metal primer, and metal paint.
A drill with a wire-wheel attachment can save time on broad, sturdy sections. Use it carefully, and follow the chemical product’s label for contact time, dilution, ventilation, protective equipment, and disposal.
Inspect the Frame Before You Start
Check the legs, side rails, brackets, center supports, fasteners, and welds. Look for deep pits, holes, bent parts, flaking metal, cracked welds, or rust that has thinned the tubing.
Stop the project if corrosion has weakened a load-bearing part. A replacement is safer than cosmetic restoration when a leg, rail, bracket, or center support cannot carry weight securely.
Prepare the Bed Frame Safely for Rust Removal
Remove the mattress, bedding, slats, and every removable hardware piece. Take photographs of each connection, then place screws and bolts in labeled bags so reassembly is straightforward.
Move the frame outside or into a ventilated work area. Wear eye protection, gloves, and a dust mask before brushing or sanding. Keep children, pets, and bedding away from the work zone, and don’t spread rust dust through the home.
Clean Dirt, Grease, and Flaking Paint
Wash the metal with warm water and mild dish soap. Wipe it with a clean damp cloth to remove soap, then dry the frame completely with rags.
Dirt and oil prevent sandpaper and rust treatments from reaching the metal. Scrape off loose paint and flaky rust over the drop cloth instead of sanding inside the bedroom.
Choose the Best Rust Removal Method for the Damage
Wire brushing and sanding work well for light surface rust. White vinegar can treat small removable parts, while commercial rust removers are useful for heavier corrosion when the product is suitable for the frame’s metal and finish.
A rust converter can stabilize remaining rust after you remove loose scale. Test any chemical on a hidden spot first because metals, existing paint, and plated finishes can react differently. Never mix rust removers, vinegar, bleach, or other chemicals.
Remove Light Surface Rust by Hand
Start with a wire brush or coarse sandpaper until the loose orange scale disappears. Use medium-grit sandpaper next, then finish with fine-grit paper to smooth the metal.
Feather the edges where bare metal meets intact paint. Wipe away all sanding residue with a clean, dry rag before applying vinegar, a commercial treatment, primer, or paint.
Handle Heavy Rust Without Damaging the Metal
Use a drill-mounted wire wheel only on broad, sturdy areas. Keep the tool moving, apply light pressure, and avoid thin tubing, welds, sharp edges, and narrow brackets.
For stubborn corrosion, apply a commercial remover or converter for the time stated on its label. Remove the treated residue as directed, and don’t leave a chemical on the frame longer than instructed.
Treat Remaining Corrosion and Neutralize the Surface
For small removable parts, place them in white vinegar for a controlled soak. Check them periodically, brush away softened rust, rinse them with clean water, and dry them immediately.
Commercial products may require dilution, a set contact time, or a final neutralizing rinse. Follow the label rather than guessing. A rust converter doesn’t replace cleaning or sanding, so remove loose scale first and apply the converter only to the remaining tight rust.
Dry the Metal Completely After Treatment
Wipe every section with clean rags, then use a fan or a hair dryer on a low setting around joints and bolt holes. Wait until the metal feels completely dry before priming.
Moisture trapped under primer can create new rust where you can’t see it.
Repair Deep Pitting, Holes, and Structural Damage
Shallow pits can usually be sanded smooth and covered with primer. Holes, badly thinned tubing, cracked welds, and weakened supports require replacement or professional welding.
Don’t use body filler as a repair for load-bearing damage. A filled hole may look smooth while the surrounding metal remains too weak to support the frame. Never sleep on a bed with compromised legs, rails, brackets, or center supports.
Know When Replacement Is Safer Than Restoration
Replace the part if the metal bends under light hand pressure, has a missing section, shows severe rust around a joint, or has an unstable leg. Fasteners that no longer hold securely are another warning sign.
Use compatible replacement pieces, then check that the frame sits level. If the damage reaches a welded structural connection, have a qualified welder assess it instead of relying on paint or filler.
Prime and Paint the Bed Frame to Stop Rust From Returning
Lightly scuff smooth painted areas so the new coating can grip. Remove all dust, then apply a rust-inhibiting metal primer to every exposed section.
After the primer dries for the time stated on its label, apply two thin coats of metal paint. Paint the undersides, edges, bolt areas, and hidden faces as well as the visible surfaces. Complete coverage protects the metal better than one heavy coat.
Apply Primer and Paint for a Durable Finish
Apply light, even coats and allow each coat to dry fully. With spray paint, keep the can at the distance printed on the label and move steadily to prevent drips. Brush-on paint works well for small areas and detailed joints.
Follow the stated drying and recoat times, even if the surface feels dry sooner. Keep the frame away from bedding until the finish has cured and no longer gives off a strong odor.
Reassemble the Frame and Prevent New Rust
Inspect the screws, bolts, washers, and brackets before reassembly. Clean reusable hardware, replace badly corroded pieces, and tighten every connection without stripping the threads.
Confirm that the frame is level and stable before replacing the slats and mattress. Felt or rubber feet can reduce contact with damp floors, while better airflow under the bed helps limit condensation. Wipe moisture quickly whenever it appears.
Maintain the Finish With Simple Routine Checks
Wipe spills promptly and avoid harsh cleaners that can damage the paint. Touch up chips as soon as bare metal becomes visible.
Every few months, inspect under the mattress, around the feet, near welds, and inside accessible hollow tubing. Early orange spotting takes minutes to remove, while neglected corrosion can weaken a support.
Conclusion
Cleaning the frame, removing loose rust, treating the remaining corrosion, drying the metal, and sealing it with primer and paint is the reliable order for how to remove rust from a metal bed frame.
Cosmetic rust is usually manageable with hand tools and careful preparation. Deep corrosion that weakens a leg, rail, weld, or support should be repaired or replaced before the bed is used.