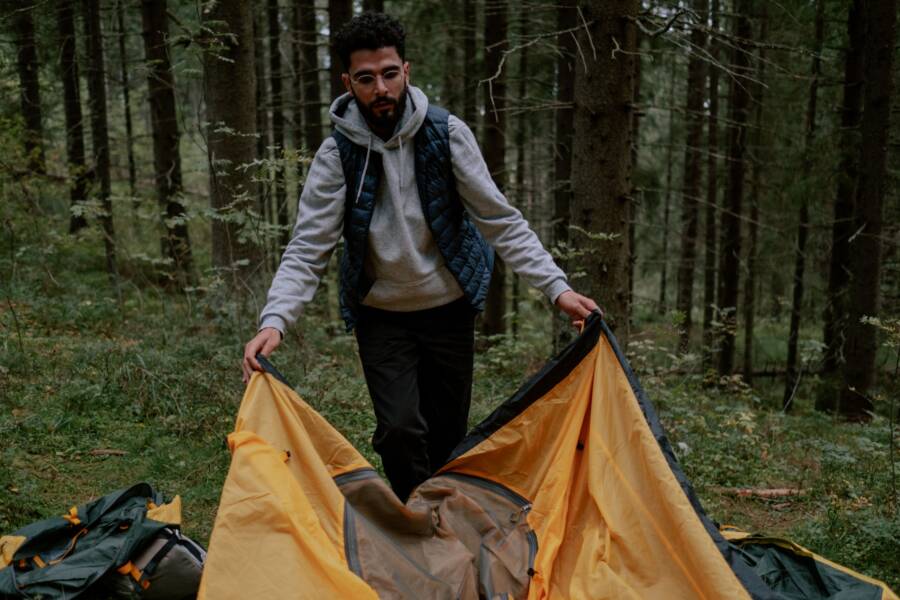
To remove mold from a canvas tent, move it outdoors, brush off loose growth, wash the fabric with a canvas-safe cleaner, rinse carefully, and dry every part completely. Mold returns when canvas stays damp, so cleaning must address both visible growth and the moisture that caused it.
Check the tent manufacturer’s care instructions before applying any cleaner. The wrong chemical or too much water can weaken the fabric, remove its treatment, or damage waterproof seams.
How to Remove Mold From a Canvas Tent Safely
Set up the tent outdoors in a well-ventilated area. If the weather allows, let the canvas dry before cleaning, then use a soft brush to remove loose mold. Never shake or brush mold indoors, where spores can spread through the air and settle on furniture or clothing.
Work in small areas instead of soaking the entire tent. Spot-test the cleaner on a hidden section, scrub lightly, rinse with clean water, and allow the canvas to dry fully before checking the result.
Choose a Cleaner That Will Not Damage Canvas
Mild soap mixed with warm water is a suitable starting point for light surface growth. A mildew cleaner labeled for canvas tents is another option, but follow both the product label and the tent manufacturer’s instructions.
Avoid chlorine bleach unless the manufacturer expressly approves it. Strong solvents, abrasive powders, and high-pressure washing can weaken fibers, remove water-resistant treatments, or drive moisture through the fabric.
Use the Right Tools for the Cleaning Job
Gather rubber gloves, eye protection, a mask suitable for mold cleanup, soft-bristled brushes, buckets, clean water, and sponges. Use a small brush around seams, zippers, corners, and pockets, but keep pressure light.
A drying line or open outdoor space will help air reach both sides of the canvas. Avoid wire brushes, stiff scrapers, and pressure washers because they can roughen or tear the fabric.
Prepare the Tent and Protect Yourself Before Cleaning
Choose an outdoor work area away from doors, windows, children, and pets. Wear gloves and eye protection, and use a properly fitted N95 respirator when mold cleanup could create airborne particles.
People with asthma, serious allergies, or weakened immune systems shouldn’t handle mold removal. Arrange professional help if mold covers a large part of the tent, has penetrated the fabric, or causes breathing problems during cleanup.
Inspect the Canvas, Seams, and Tent Floor
Check the roof, walls, seams, zippers, floor, pockets, and storage bag. Look for trapped moisture, fabric that feels brittle, peeling coatings, leaks, fabric rot, and odors that remain after airing.
Badly weakened canvas may need repair or replacement rather than repeated cleaning. A clean tent isn’t safe if its fabric can tear under light pressure or its floor can no longer keep water out.
Clean Moldy Canvas Without Removing Its Waterproofing
Open the tent fully and clean one section at a time. Apply the approved solution with a sponge or soft brush, then rinse it away with a damp sponge or gentle, low-flow water.
Don’t flood the tent or let water pool on the floor and seams. Rinse thoroughly enough to remove cleaner, but avoid forcing water through the canvas, especially where the fabric has already weakened.
Visible discoloration may remain after live mold has been removed. Staining and active growth aren’t always the same problem, so judge the result by the absence of new growth, odor, and dampness as well as by appearance.
Treat Stubborn Mold Stains in Small Areas
Old stains often need a second treatment approved for canvas. Follow the cleaner’s stated dwell time, use light pressure, and stop immediately if the fabric changes color, texture, or strength.
Never mix cleaning products. Combining bleach, acids, ammonia, or other chemicals can release dangerous fumes and may damage the canvas faster than mold does.
Dry the Canvas Tent Completely After Washing
Drying is part of mold removal, not an optional final step. Open every door, window, vent, and pocket, then spread the fabric so air can reach folds, seams, and the underside.
Moving air speeds drying, so use a breezy outdoor location or a fan positioned outside the tent. Indirect sunlight can help, but follow the manufacturer’s care guidance if the canvas has a special coating.
Know When the Tent Is Dry Enough to Store
Dry canvas should feel dry and cool, not damp or clammy. Check the floor, folded edges, seam lines, pockets, and the inside of the storage bag, and smell for any remaining mustiness.
Leave the tent open longer if you have any doubt. Packing slightly damp canvas can restart mold growth inside the folds, where air cannot circulate.
Restore Waterproofing After Mold Removal
Cleaning and repeated scrubbing can reduce a tent’s water-resistant treatment. Once the canvas has dried, inspect it for areas that look worn, absorb water quickly, or show a changed surface texture.
Apply only a waterproofing product made for canvas tents, and follow its coverage and curing instructions. Canvas waterproofing treats the fabric, while seam sealer handles small stitching gaps and repairs, so one product may not solve both problems.
Test the Fabric Before the Next Camping Trip
Test the waterproofing product on a small hidden area first. After it cures, spray a light layer of water over the cleaned canvas and inspect the surface.
Water should bead or run off as expected. Dark wet patches, dripping seams, or leaks indicate that the tent needs more approved treatment or a proper repair before camping.
Fix the Moisture Problems That Caused the Mold
Mold usually grows because a tent was packed while damp, poorly ventilated, or stored in a humid place. Condensation, wet clothing, wet gear, and moisture rising from the ground can also keep canvas damp for hours.
Air the tent during use, separate wet equipment from dry bedding, and dry the tent after rain before packing it. During storage, use a breathable setup rather than sealing damp canvas in plastic.
Store a Canvas Tent So Mold Does Not Return
Store the fully dry tent in a cool, dry, ventilated area, away from wet basement floors and exterior walls that collect condensation. Keep it off the floor, and make sure the storage bag is clean and dry.
Fold the canvas loosely according to the manufacturer’s instructions, then inspect it every few months. If you find dampness or a musty odor, open the tent outdoors and dry it before mold spreads.
Avoid These Mistakes When Removing Tent Mold
Cleaning indoors spreads mold spores through the living space. Unapproved bleach can damage fibers and coatings, aggressive scrubbing can create weak spots, and pressure washing can force water through the canvas.
Never seal the tent before it is completely dry. Also, don’t mix cleaning chemicals or leave cleaner sitting longer than the label allows, because fumes and fabric damage can result.
When Cleaning Is Not Enough
Seek professional help when mold covers a large area, lies deep inside the fabric, or leaves a strong odor after proper cleaning. Widespread fabric rot, failed waterproofing, structural weakness, or health symptoms during cleanup also require more than routine washing.
Don’t use a tent that can no longer keep occupants dry or has weakened fabric around poles, seams, or anchor points. Replacement is safer when repairs cannot restore the canvas’s strength and water protection.
Keep Your Canvas Tent Dry After Mold Removal
Clean mold outdoors with a canvas-safe product, scrub gently, rinse without forcing water through the fabric, and dry every fold, seam, pocket, and floor completely. Restore water resistance only with a canvas-approved treatment, then test the result before your next trip.
The best protection against recurring mold is a fully dry tent and breathable storage. Correcting condensation, wet gear, poor ventilation, and damp storage removes the conditions mold needs to return.