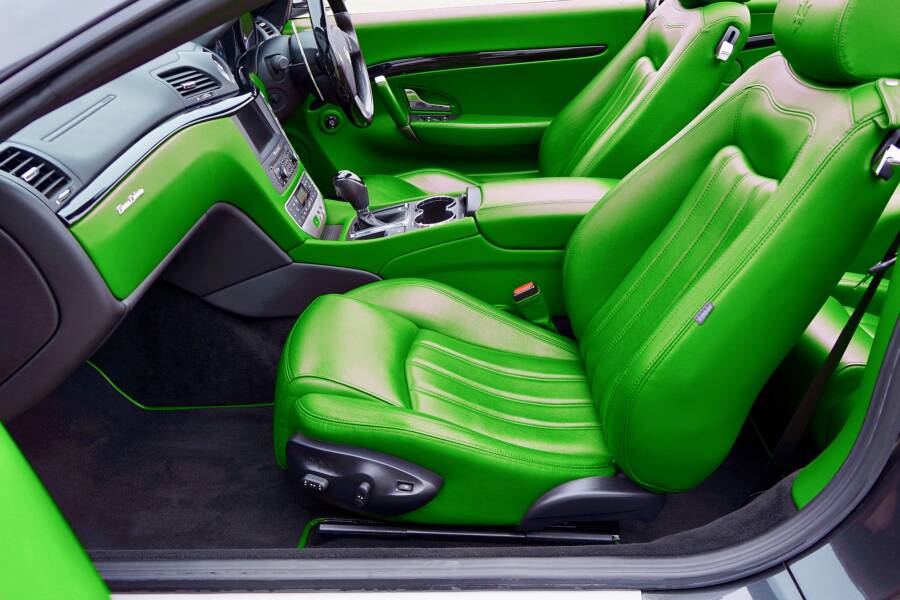
To remove chewing gum from a car seat, harden it with ice, lift it with a dull plastic tool, then clean the residue according to the seat material. Place ice in a sealed plastic bag, hold it against the gum for 10 to 15 minutes, and scrape gently once the gum becomes firm.
Fabric, leather, and vinyl need different cleaning methods. Don’t rub soft gum, use heat first, or reach for a sharp blade, because those actions can push the gum deeper or damage the upholstery. Start with the safest removal process below.
How to Remove Chewing Gum From a Car Seat Without Causing Damage
Remove any loose pieces with your fingers before treating the stuck gum. Next, place ice in a sealable plastic bag and press it against the gum for 10 to 15 minutes. The cold makes the gum brittle, so it releases more cleanly from the upholstery.
Once the gum feels hard, scrape from the outside toward the center with a spoon or plastic scraper. Work in small sections, then vacuum or pick up the broken pieces before they warm up again. If residue remains, choose a cleaner made for the seat material and test it on a hidden area first.
Avoid knives, razor blades, metal scrapers, heat, and forceful scrubbing. Sharp edges can cut fabric or scratch vinyl, while heat can soften the gum and spread it into the seat. Excessive pressure can also pull upholstery fibers or damage a leather finish.
What to Gather Before You Start
Gather the following supplies before touching the gum:
Ice cubes and a sealable plastic bag
A spoon or plastic scraper with a dull edge
Several clean microfiber cloths
A soft toothbrush for seams and textured surfaces
Mild dish soap and warm water
A vacuum cleaner
A fabric-safe upholstery cleaner or approved leather cleaner
The sealed bag keeps melted ice away from the seat. That matters because water can soak into fabric padding, leave a ring, or create an odor if it dries slowly. A spoon or plastic scraper also gives you enough edge to lift the gum without cutting the upholstery.
How to Lift Hardened Gum Safely
Keep the ice bag on the gum while you work on one small section. If the gum starts to feel stretchy or sticky, stop scraping and chill it again for several minutes. Cold gum should crack or lift rather than smear.
Hold the plastic edge at a low angle and use short, gentle strokes. A spoon works well when the seat has a delicate surface, while a plastic scraper can help on flatter upholstery. Stop immediately if the fabric begins to pull or the surface starts to scratch.
Remove Gum From Fabric Car Seats With Ice and Gentle Cleaning
Cloth and fabric seats usually tolerate light cleaning, but their foam can hold water for hours. After removing the main piece, inspect the area under good light. Pick away small crumbs with your fingers or vacuum them instead of rubbing them across the cloth.
For light residue, mix one teaspoon of mild dish soap with one cup of warm water. You can also use a fabric-safe upholstery cleaner according to its label. Apply a small amount to a cloth, not directly to the seat, and keep the fabric damp rather than wet.
Treat the Sticky Residue After the Main Piece Is Gone
Blot the residue from the outside inward with a clean microfiber cloth. This movement keeps the sticky area from spreading across clean fabric. Use a fresh section of the cloth after each pass so you don’t transfer gum back onto the seat.
Several light applications are safer than one heavy application. If the residue remains, wait a minute, then blot again with a small amount of solution. Finish with a cloth lightly dampened with clean water to remove soap, taking care not to soak the foam below.
A soft toothbrush can loosen residue in a woven texture or seam. Use only light strokes after the gum has hardened, and avoid brushing a warm, sticky patch. The goal is to lift the residue into the cloth, not work it farther into the fibers.
Dry the Cloth Seat to Prevent Odors and Water Marks
Press dry towels against the cleaned area to draw out moisture. Don’t twist or grind the towels into the fabric. Leave the doors or windows open when it’s safe, and aim a fan at the seat to speed drying.
If you removed a washable cover, reinstall it only after it is fully dry. Don’t sit on the seat while the fabric or padding still feels damp, especially if the gum reached below the surface. Trapped moisture can produce odors and leave a visible water mark.
Clean Chewing Gum From Leather and Vinyl Car Seats
Leather and vinyl require a lighter touch because scraping and harsh chemicals can remove color, soften the surface, or strip its protective coating. Chill the gum first, then lift it with a plastic scraper or spoon. Keep the tool nearly flat and avoid pressing into seams, stitching, or perforations.
After removing the gum, wipe the area with a damp microfiber cloth. If a film remains, use a cleaner approved for that material and follow its label. Apply the product to the cloth rather than pouring it onto the seat, then wipe gently and dry the surface with another cloth.
Leather may need conditioner after the area dries, but use one approved for the seat’s finish. Some modern leather seats have a coated surface that can react poorly to unsuitable oils or dressings. Check the vehicle owner’s manual or seat manufacturer’s care instructions before applying any conditioner.
Why Oil and Solvents Can Make Leather Damage Worse
Don’t use peanut butter, cooking oil, gasoline, acetone, nail polish remover, or strong adhesive remover on leather or vinyl unless the seat manufacturer approves that product. Oily substances can leave a dark stain or create a greasy patch that attracts dirt. Solvents may soften vinyl or strip leather dye and its protective coating.
These products can also spread the problem beyond the original gum mark. If a residue remains after ice and a material-safe cleaner, stop rather than escalating to a stronger household chemical. A professional detailer can identify the finish and select a compatible treatment.
Use Heat or Household Products Only When the Material Allows It
Freezing is the preferred first method because it firms the gum without adding chemicals. Heat should not be the default. A hair dryer can soften the gum, allowing it to spread into fabric, seams, perforations, and seat padding.
Household oils also carry a staining risk. They may loosen gum on some hard surfaces, but car upholstery has dyes, coatings, and foam that can absorb them. The same concern applies to untested adhesive removers.
If you consider a specialty gum or adhesive product, test it on a hidden area first. Follow the product label exactly, use the smallest practical amount, and provide ventilation. Never combine cleaning products, since mixtures can create harmful fumes or damage upholstery.
Mistakes That Spread Gum or Stain Car Upholstery
The wrong first move can turn a small mark into a larger repair. Common mistakes include:
Rubbing before hardening the gum, which pushes it into the fibers.
Scraping with a knife or razor, which can cut cloth, scratch vinyl, or gouge leather.
Pouring cleaner directly onto the seat, which can spread the residue and soak the padding.
Using too much water, which can cause odors, water marks, or slow drying.
Applying bleach, which can remove color and weaken some upholstery fibers.
Mixing cleaning products, which can create dangerous fumes or unpredictable stains.
Use ice, a dull plastic edge, and controlled blotting instead. Apply cleaner to a cloth, keep the area lightly damp, and pause whenever the upholstery changes color or texture. If the seat reacts badly, stop and let it dry before seeking professional advice.
When a Professional Detailer Should Handle the Car Seat
Professional cleaning is the safer choice when gum is pressed deep into a seat seam or has entered perforated leather. It also makes sense when a stain remains after two gentle cleaning attempts. Repeated scrubbing can cause more damage than the original gum.
Call a detailer if the leather is peeling, cracked, or discolored, or if moisture has reached the foam. A professional can use extraction equipment and material-specific products without forcing contamination deeper into the seat. Tell the detailer what products you already applied.
Before using a strong treatment, check the vehicle warranty and seat manufacturer’s care instructions. Some upholstery finishes have restrictions on solvents, conditioners, and extraction methods. Keeping those instructions can help prevent an avoidable repair.
How to Prevent Gum From Sticking to the Seat Again
Store chewing gum in a sealed container rather than loose in a door pocket or center console. Check passenger pockets before children enter the vehicle, especially after trips involving snacks. Washable seat covers can add protection when young passengers regularly ride in the car.
Clean fresh spills as soon as you notice them, before pressure and warmth work the gum into the upholstery. Regular vacuuming also removes crumbs and debris that can hide sticky spots. A quick inspection after each trip makes a small accident easier to handle.
The Safest Way to Remove Chewing Gum From a Car Seat
The safest sequence is simple: harden the gum, lift it slowly, clean the remaining residue for the correct seat material, and dry the area completely. Fabric needs controlled moisture, while leather and vinyl need approved cleaners and minimal pressure.
Avoid sharp tools, harsh solvents, oils, bleach, heat, and excess water. If gum reaches seams, perforations, or padding, professional cleaning is safer than repeated home treatment. When you remove chewing gum from a car seat with patience, the upholstery has a much better chance of keeping its original texture and finish.