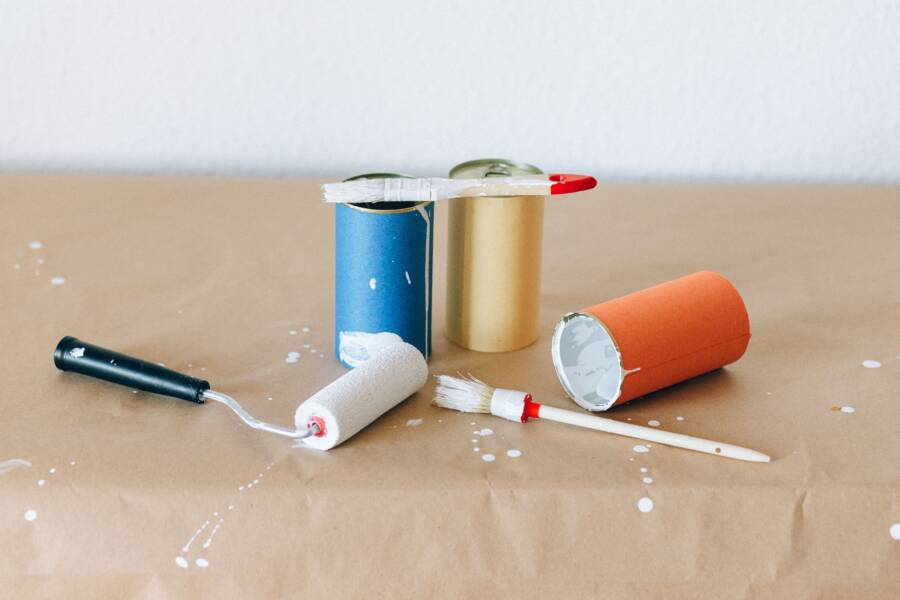
Soften the dried paint before working it out of the bristles. Then match the cleaner to the paint, because water-based and oil-based coatings need different treatment.
For how to remove dried paint from a paintbrush, gather gloves, eye protection, airflow, and a suitable container first. The right method can restore many brushes, while gentle combing, proper washing, and better storage help prevent the problem later.
How to Remove Dried Paint From a Paintbrush Safely
Start by identifying the paint, covering your work surface, and removing loose flakes. Next, soften only the bristles, loosen the coating with a comb, then wash and reshape the brush. This order protects the ferrule, handle, and remaining bristles.
Wear chemical-resistant gloves and safety glasses when using cleaners or solvents. Work outdoors or in a well-ventilated area, especially with mineral spirits or another solvent. Use a container that won’t react with the cleaner, and keep it away from children, pets, flames, and ignition sources.
Never pull hard on dry bristles, because the force can remove fibers from the ferrule. Don’t use an open flame, heat gun, or torch to soften paint. Heat can ignite vapors, damage synthetic fibers, and weaken the glue holding the brush together.
Check the Paint Type Before Choosing a Cleaner
Read the paint can, label, or notes from the previous project. Latex and acrylic paint are water-based, while alkyd and many enamel products are oil-based. Warm water and mild soap may loosen the first type, but oil-based paint usually needs the cleaner named on its label.
Mineral spirits may suit some oil-based products, but don’t assume every solvent works for every coating. Never mix solvents, bleach, ammonia, or household cleaners. Keep used solvent and paint waste out of sinks, toilets, soil, and storm drains.
Gather the Right Tools and Protect the Work Area
Set out gloves, safety glasses, a small container, a brush comb or old toothbrush, a clean rag, mild dish soap, and the correct cleaner. Cover the table with cardboard or a disposable work surface. When solvents are involved, open windows or work outdoors away from sparks.
Some solvent-soaked rags require a metal container with a tight lid. Follow the product label for storage, ventilation, fire precautions, and disposal. A sealed, labeled container is safer than leaving wet rags or cleaner in an open bucket.
What You Need to Loosen Hardened Paint Bristles
Choose tools that move paint without cutting or bending the fibers. A brush comb reaches between bristles, while a nylon scrub brush or old toothbrush handles light surface residue. A plastic scraper can lift flakes from the outside, and a fine-tooth comb can separate small clumps near the tips.
Avoid knives, razor blades, and wire brushes. They can cut fibers, scratch the ferrule, or spread the bristles permanently. Forceful bending also breaks natural hair and creates a brush that leaves streaks.
For water-based paint, keep warm water, dish soap, a brush comb, and a rag nearby. For solvent-based paint, add the label-approved cleaner, a compatible container, extra rags, and a sealed waste container. A small brush comb is usually more useful than a large household scrub brush.
Choose a Soaking Container That Protects the Brush
Use a container tall enough to cover the painted bristles but shallow enough to keep cleaner below the ferrule. Submerging the ferrule can loosen its glue, while soaking a wooden handle can make it swell. The brush head may eventually separate.
Choose a separate, labeled container made for the cleaner. Never reuse a food, drink, or cooking vessel for paint cleanup. Mark the container clearly if it will hold used solvent or paint sludge.
Remove Dried Water-Based Paint With Warm Water and Soap
First, flick or brush off loose flakes over newspaper or cardboard. Place only the bristles in warm water for several minutes, then work mild dish soap into the paint with your fingers. Warm water softens many latex and acrylic residues, but boiling water can damage fibers and adhesives.
Comb from the ferrule toward the tips, using short strokes. Rinse with the brush pointed downward so loosened paint travels away from the ferrule. Repeat the soak, soap, comb, and rinse cycle until the water carries no loose pigment.
Paint dried for several days may release after two or three short cycles. A hard shell may need longer, label-approved soaking with a commercial brush cleaner. Don’t bend the shell sideways, because the pressure can split or snap the bristles.
Work the Paint Out Without Splitting the Bristles
Use a brush comb or old toothbrush with light pressure and short strokes. Work small sections rather than dragging across the entire brush. Keep the brush pointed downward during rinsing.
Use a Commercial Brush Cleaner for Stubborn Acrylic Paint
A purpose-made brush cleaner can help when acrylic has fully hardened. Follow its label for soaking time, gloves, ventilation, and rinsing, and test it on a small section first. Never mix it with bleach, ammonia, or another cleaning product.
Clean Dried Oil-Based Paint With the Correct Solvent
Oil-based paint usually needs the solvent listed on its label, not water. Put a small amount in a compatible container, dip the bristles, and massage the paint loose with gloved fingers. Then comb from the ferrule toward the tips and repeat with fresh solvent if the liquid becomes cloudy.
Use only a named, suitable product for the paint. Don’t use gasoline, casual paint thinner, or an unknown chemical mixture. Keep the area ventilated, protect your skin, control ignition sources, and follow the label’s fire warnings.
After the paint loosens, wipe excess solvent into a rag. Transfer the brush to a clean container before washing it with the soap or brush-cleaning method recommended for that coating. Solvent work isn’t finished until residue is removed and the brush has been washed.
Keep Solvent Away From the Ferrule and Handle
Use short soaking periods based on the product label, checking the bristles often. Overnight soaking can weaken glue, damage wood, and lift paint from a handle. Keep the liquid below the ferrule throughout the process.
Dispose of Used Solvent and Paint Waste Properly
Never pour used solvent, paint sludge, or solvent-soaked rags into a drain, yard, or storm sewer. Store waste in a sealed, labeled container and contact your local household hazardous waste program. Solvent-soaked rags can catch fire, so follow local instructions and the product label exactly.
Restore a Brush After the Dried Paint Comes Out
Wash away cleaner residue before judging the brush’s condition. Use clean water for water-based paint, or follow the solvent and paint manufacturer’s cleaning directions for oil-based products. Rinse until the water runs clear and no loose pigment remains.
Press excess water from the bristles with a clean rag. Don’t twist, wring, or pull the fibers, because those actions can distort the brush shape. Inspect the ferrule for movement and check whether the bristles still spring back.
Bring the bristles into their original shape with clean fingers. Dry the brush flat or hang it with the bristles pointing down, never upright on wet bristles. A brush with missing, brittle, or permanently bent fibers may cost more effort to restore than it is worth.
Wash Away Soap and Solvent Residue
Residue can leave bristles stiff or affect the next paint job. Rinse until there is no slippery film, strong cleaner smell, or loose pigment. Stop twisting the brush while washing.
Reshape the Bristles Before the Brush Dries
Use your fingers to align the edge and point before the bristles dry. A conditioner may help some natural-bristle brushes, but check the label before using it on synthetic fibers. Dry the brush in its correct shape.
Adjust the Method for Synthetic and Natural Bristle Brushes
Synthetic brushes usually tolerate water-based cleaning well, especially nylon and polyester types. However, high heat and harsh chemicals can curl, melt, or weaken synthetic fibers. Lukewarm water and a cleaner labeled safe for synthetics are safer choices.
Natural hog bristles can swell, dry out, or become brittle. They need shorter soaking periods and gentler combing near the ferrule. Expensive brushes, delicate blends, and specialty materials should follow the manufacturer’s care instructions.
A brush with cured paint near the ferrule needs extra patience, not extra force. Work in small sections and inspect the glue after each cycle. Deeply hardened paint can permanently damage both natural and synthetic brushes.
Protect Synthetic Fibers From Heat and Harsh Chemicals
Boiling water, heat guns, caustic cleaners, and aggressive scraping can deform synthetic bristles. Test a stronger cleaner on a hidden section before treating the entire brush. Stop if the fibers curl, soften, or lose their spring.
Treat Natural Bristles Gently to Preserve Their Shape
Don’t leave natural bristles submerged for long periods, especially near the ferrule. Wash gently, comb carefully, and dry the brush in its original shape. Conditioning may improve stiffness, but cured paint inside the ferrule can cause permanent damage.
Fix Common Problems After Cleaning a Paintbrush
Stiff bristles usually indicate dried residue or cleaner left behind. Rinse again, work mild soap through the fibers, and comb outward in short strokes. If the fibers remain brittle, further treatment may cause more breakage.
A hard paint ring near the ferrule requires controlled cleaning rather than scraping. A loose brush head, cracked handle, or severe shedding indicates structural damage. Lingering solvent odor calls for more label-approved washing and fresh-air drying.
Bristles that fan out may need reshaping while damp. If they remain spread after drying, the brush may leave uneven marks. Replace it when repair would risk shedding fibers into a new paint job.
Loosen Paint Trapped Near the Ferrule
Apply cleaner only to the affected bristle area and follow the label’s contact time. Comb outward in small sections, repeating controlled cycles as needed. Never force a metal scraper between the ferrule and bristles.
Know When a Brush Cannot Be Saved
Replacement is sensible when bristles stay kinked, paint has cured heavily inside the ferrule, or fibers shed heavily. A cracked handle or loose ferrule also makes restoration unreliable. Dispose of the brush according to the paint and cleaner waste rules.
Avoid Mistakes That Damage Dried Paintbrushes
The wrong cleaner can swell wood, weaken glue, or leave bristles brittle. Soaking the whole brush can separate the head, while pulling paint from the tips can break fibers. Match the cleaner to the label and keep liquid on the bristles only.
Excessive heat may ignite solvent vapors or deform synthetic fibers. Sharp scraping can cut the brush and your hand. Short soak-and-comb cycles offer more control than force.
Hard scrubbing against a bucket edge bends bristles and loosens the ferrule. Squeeze or comb the fibers gently instead. Keep chemicals separate, and stop cleaning when the brush begins to weaken.
Do Not Mix Cleaners or Guess at Solvent Safety
Use only the cleaner recommended by the paint or product label. Unknown combinations can create harmful fumes, heat, or dangerous reactions. If fumes, splashes, or irritation occur, move to fresh air and follow the product’s emergency instructions.
Do Not Scrub the Brush Against a Hard Surface
Pounding a brush on a bucket edge can flare the bristles permanently. A sharp blade may remove crust but can cut fibers, damage the handle, and cause hand injuries. Use a plastic scraper on loose surface flakes instead.
Prevent Paint From Drying on Your Brush Again
Clean the brush immediately after each painting session. Remove paint from the upper bristles before it reaches the ferrule, where it can harden and lock fibers together. Store the brush only after it is clean and dry.
During a short break, keep a water-based brush wrapped in a damp towel or sealed bag for a limited period. For solvent-based paint, follow the paint and cleaner label instead of improvising storage. Never leave any brush submerged for long periods.
A clean brush should hang when possible or lie flat after drying. Its original sleeve, paper wrap, or a breathable brush guard can protect the shape. Avoid sealing a damp brush in plastic, and keep stored tools away from heat, direct sunlight, and dust.
Clean the Brush Immediately After Each Painting Session
For water-based paint, scrape excess paint into the can, wash the bristles with warm water and soap, comb them, rinse, and reshape. For oil-based paint, remove excess paint, use the label-approved solvent, then wash and rinse as directed. Cleaning near the ferrule matters more than washing only the tips.
Store Clean Brushes So the Bristles Keep Their Shape
Let the brush dry completely before using a sleeve or wrap. Hang it by the handle or lay it flat, with the bristles supported. Keep moisture, heat, sunlight, and dust away from the drying brush.
Conclusion
Match the cleaner to the paint, soften the coating, and comb gently from the ferrule toward the tips. Wash away all soap or solvent, then reshape and dry the bristles correctly. Solvent ventilation and waste disposal matter as much as the cleaning itself.
A brush with cured paint may still recover if the fibers and ferrule remain sound. However, permanent kinks, shedding, or a loose head usually justify replacement. Cleaning the brush immediately after use is faster and safer than removing fully dried paint later.