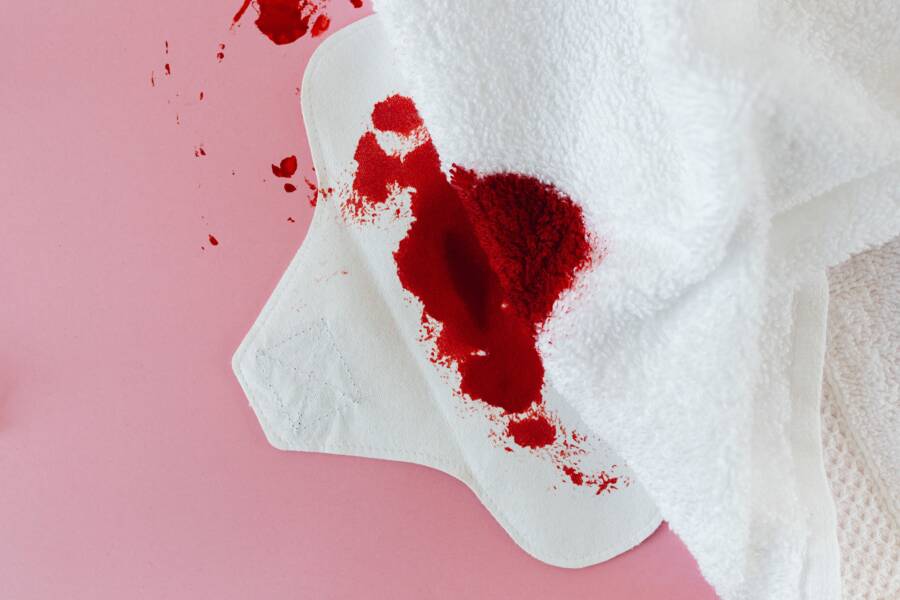
Blot the stain without rubbing when you need to handle a stain on something you can’t replace. Then check the item’s care label, material tag, or maker instructions before applying any cleaner.
The safest response depends on what caused the stain, the surface, the item’s age, and its value. A calm first response can prevent a small mark from becoming permanent damage. Start by stopping the spread, then choose the lowest-risk option.
How to Handle a Stain on Something You Can’t Replace Without Making It Worse
Fresh stains need gentle action, not force. Remove any solid residue with a spoon, credit card edge, or other dull tool, lifting upward so you don’t press it into the fibers or finish.
If you can reach the reverse side, place a clean white cloth under the stained area. Then blot from the outer edge toward the center. Rubbing, heat, soaking, bleach, and mixed cleaning products can spread color, set proteins, or damage delicate surfaces.
Stop the stain from setting in the first few minutes
Cover a fresh liquid spill with a dry white cloth or plain paper towel and press lightly. Replace the towel as it absorbs moisture, because dragging it across the surface spreads the stain.
For oil, butter, makeup, or grease, lift excess material first with a dull edge. Don’t add water until the care instructions allow it, since water can create rings or push oil deeper into some materials.
Keep the item safe while you assess the damage
Move the item away from direct sunlight, heaters, pets, and heavy use. Never put stained clothing, upholstery, or textiles into a dryer, because heat can make removal much harder.
Take clear photos before treatment. Write down what caused the stain, when it happened, and every product that has touched the item. This record helps a professional choose a safer treatment later.
Identify the Stain and Material Before Choosing a Cleaner
Stain removal starts with two facts: what made the mark and what the item is made from. Coffee, wine, grease, ink, blood, dye transfer, rust, and unknown stains all need different handling.
Check the care label, manufacturer instructions, material tag, or original packaging. For antiques and collectible objects, look for conservation guidance before trying a household product. If you can’t identify the material, treat it as fragile.
Match the treatment to the stain type
Water-based drink stains often respond to careful blotting and minimal moisture. Grease requires a method that can lift oil without spreading it through the material.
Protein stains, including blood, milk, egg, and sweat, can become harder to remove after heat exposure. Ink, dye transfer, rust, and old stains often require specialized solvents or restoration methods. Don’t assume a popular stain-removal trick fits every mark.
Check whether the surface can tolerate moisture and chemicals
Washable cotton and many synthetics may tolerate limited water when their labels permit it. Silk, wool, velvet, leather, suede, unfinished wood, paper, painted surfaces, and natural stone can react badly to moisture or cleaners.
A “dry clean only” label is a stop sign for home washing. The same caution applies to loose dye, antique construction, leather finishes, and water-sensitive paper. One test spot is safer than a broad cleaning attempt.
A stain can be less damaging than the ring, color loss, or texture change left by an unsuitable cleaner.
Build the Safest Stain Removal Plan for a Valuable Item
When you handle a stain on something you can’t replace, rank your options by risk. Start with dry lifting and blotting, then move to a material-approved cleaner only after a hidden-area test.
Use clean white tools and small amounts of product. Work in a well-ventilated space, and pause between steps so you can observe changes. Fast, repeated treatment can make a stain harder for a specialist to remove.
Gather simple tools that reduce the chance of damage
Keep clean white cloths, cotton swabs, a spoon or dull scraper, gloves, a small bowl, and a fan nearby. Distilled water can help when tap water may leave mineral marks, especially on delicate fabrics or finished surfaces.
Colored towels can transfer dye. Rough brushes can fray fibers or scratch finishes. Avoid concentrated products and unknown household mixtures, including combinations of bleach, vinegar, ammonia, or peroxide.
Test every treatment in a hidden spot
Apply a tiny amount of the chosen product to an unseen seam, underside, or back edge. Wait until the test area dries, then check for bleeding color, rings, fading, stiffness, texture changes, or finish loss.
Stop immediately if you see any change. A successful test lowers risk, but it doesn’t guarantee the visible stain will react the same way. The stained area may contain different dyes, coatings, or accumulated wear.
Clean the Stain in Small, Controlled Steps
After testing, remove remaining residue with the least force possible. Apply the smallest suitable amount of treatment to a cloth or swab, not directly onto the item, unless the product instructions say otherwise.
Blot rather than scrub, and switch to a clean section of cloth as it picks up color or soil. Keep your work inside the stained area whenever possible. A wide wet circle can leave a visible tide mark.
Use less product and pressure than you think you need
Excess moisture can cause shrinking, swelling, color bleeding, mold, or water rings. Hard pressure can flatten pile, break paper fibers, and push stains farther into upholstery or fabric.
Use short treatment rounds, then pause for several minutes. Follow the label exactly when a commercial cleaner is appropriate. If the stain lightens but the material begins to react, stop while the damage is still limited.
Dry and inspect before deciding whether to repeat
Let the item dry fully in a cool, shaded, well-ventilated place. A fan can improve airflow, but don’t use a hair dryer, radiator, or direct sun.
Wet materials often look darker, cleaner, or more even than they will after drying. Limit home attempts to a few careful rounds. Stop when the stain doesn’t change, begins to spread, or the item shows any reaction.
Know When Professional Stain Removal Is the Safer Choice
Professional help is the better choice for antiques, heirlooms, original artwork, signed items, wedding clothing, important documents, and collectibles. It is also the safer route for silk, velvet, wool, leather, suede, large upholstery stains, dye transfer, ink, rust, and fragile seams.
A visible stain can be frustrating, but continued DIY treatment can lower an item’s value or erase original material. Call for an assessment before using a strong cleaner on anything with sentimental, financial, or historical value.
Choose the right specialist instead of a general cleaner
Different materials need different training. A dry cleaner handles garments, while rug cleaners, upholstery professionals, leather specialists, and paper or textile conservators work with other surfaces.
Ask whether the specialist has treated your exact material and stain type. Request an estimate, ask about test cleaning, and discuss likely risks. Also ask what happens if full removal is not possible.
Prepare the item before handing it over
Don’t wash, iron, glue, trim, or apply more products before an evaluation. Bring the item in its current condition and share your photos, stain history, and product list.
Mention any sentimental or collectible value. Request written approval before a treatment that can’t be reversed. That conversation matters most for historic garments, artwork, documents, and objects with original finishes.
What to Do When the Stain Cannot Be Removed Completely
Some stains permanently change fibers, dyes, finishes, or paper. In those cases, reducing contrast and preventing further damage is a better goal than chasing perfect removal.
A qualified restorer may offer localized color repair, reframing, protective mounting, or a tailored alteration. For some clothing and textiles, displaying or using the least affected side can preserve the item without more chemical exposure.
Preserve the item after treatment or partial success
Store paper and textiles in acid-free materials when appropriate. Natural materials need breathable protection, while many objects need stable indoor conditions with limited heat, humidity, sunlight, and pressure.
Match the storage method to the material. Leather should not be sealed in plastic, and damp textiles should never go into storage. Valuable objects may need a conservator’s advice on long-term housing.
Avoid cover-ups that create a larger repair problem
Don’t use permanent marker, paint, shoe polish, household glue, aggressive bleach, or colored dye to hide a stain. These products can alter the original surface and make later restoration much harder.
Avoid cutting away a stained section without expert advice. A quick cover-up may reduce value and hide evidence that helps identify the original material. Preservation is often more useful than a temporary disguise.
Prevent Another Stain on an Irreplaceable Possession
Keep food and drinks away from fragile items whenever possible. Use washable covers only when they won’t trap moisture, abrade the surface, or transfer color.
Store valuable pieces away from leaks, windows, and direct sun. Keep pens, cosmetics, adhesive products, and cleaning supplies separate from special clothing, documents, and upholstery. Save care instructions and a list of products you have tested safely.
Make a simple emergency plan before accidents happen
Keep white cloths, gloves, a dull scraper, and care information in an easy-to-reach place. Photograph valuable possessions and record maker details, materials, dimensions, and existing marks for insurance and restoration decisions.
Early blotting and early professional advice are safer than repeated cleaning attempts. If several people use the item, tell them where the care instructions are kept. A simple plan prevents rushed decisions when a spill happens.
Protect the Item Before Pursuing a Perfect Result
The safest way to handle a stain on something you can’t replace is to protect the material first. Identify the stain and surface, test cautiously, and stop before a small mark becomes permanent damage.
A partly visible stain is often better than a ruined finish, faded dye, or damaged fiber. For rare, fragile, or deeply meaningful items, a qualified specialist offers the safest next step.