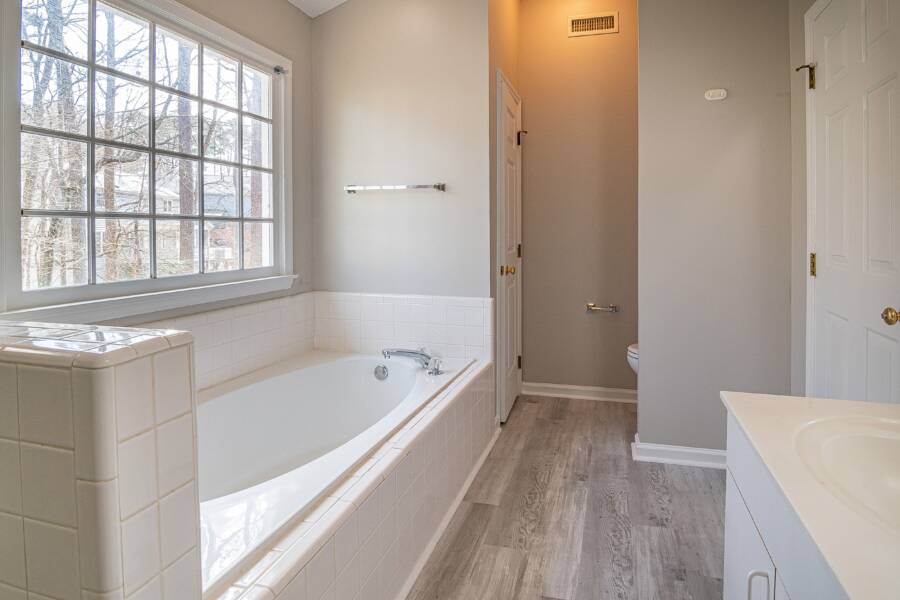
Blot fresh dye immediately, then clean the spot with warm water and a few drops of dish soap. For a hair dye stain on a vinyl bathroom floor, start gently because harsh solvents and hard scrubbing can damage the floor’s protective finish.
A dried mark may need a careful spot treatment, but stronger products should always be tested first. The safest approach is to remove the excess, clean with mild soap, rinse, dry the area, and protect the floor during future color treatments.
Hair Dye Stain on a Vinyl Bathroom Floor: Act Fast
Fresh hair dye is easier to remove because it hasn’t dried and bonded as firmly to the vinyl surface. Put on disposable gloves, then lift excess dye with a dry paper towel. Work from the outside edge toward the center so the stain doesn’t spread.
Use a new section of towel each time it becomes stained. Keep your movements light, and avoid rubbing the mark back and forth. Once the visible dye is gone, wipe away any standing water so it cannot reach seams, loose edges, or the underside of the flooring.
Blot the Spill Without Spreading the Dye
Clean, disposable towels work well for the first response. Press one onto the spill, lift it straight up, and replace it when dye transfers onto the paper. Dragging a wet towel across the floor can turn a small spot into a wide, thin smear.
If dye has reached the base of a cabinet or the edge of a vinyl plank, use folded paper towels to absorb it. Don’t push liquid into the joint. A dry towel should follow the cleanup before you apply any cleaner.
Check the Floor Finish Before Cleaning Further
Identify the surface before choosing a product. Sheet vinyl has few joints, vinyl tile has seams between pieces, and luxury vinyl plank usually has a printed wear layer over a rigid core. Textured patterns, worn patches, and open seams can hold dye differently.
Check the flooring manufacturer’s care instructions if you have them. Some finishes tolerate mild soap but react poorly to solvents or abrasive cleaners. If the surface is cracked, peeling, or already worn, use less liquid and lighter pressure.
Test the Vinyl Before Using Any Cleaner
Test every cleaner in a hidden area, such as behind the toilet or beneath a removable mat. Apply a small amount, wait several minutes, then wipe and inspect the spot under good light. Look for discoloration, dullness, swelling, tackiness, or a change in the printed pattern.
Stop using the product if the test area looks or feels different. A cleaner that removes dye may also remove the vinyl’s surface coating. Testing takes little time and can prevent a larger damaged patch beside the original stain.
Remove Fresh Hair Dye with Gentle Soap and Water
Mix warm water with a few drops of mild dish soap. Dampen a soft microfiber cloth, wring it out well, and apply the solution to the stain. Let it sit for one to two minutes, then wipe gently with short strokes.
Rinse the cloth with clean water and wipe away the soap. Follow with a fresh damp cloth if any residue remains, then dry the floor completely with a clean towel. Several gentle passes are safer than one forceful scrub.
Use a Soft Brush on Textured Vinyl
A soft nylon toothbrush can reach shallow texture and grout-like patterns that a flat cloth misses. Dip the brush in the soapy solution, then use light pressure and short strokes over the stained area. Keep the brush focused on the mark rather than the surrounding finish.
After brushing, wipe with clean water and dry the surface. Don’t use a stiff household brush, because hard bristles can scratch or dull the protective layer.
Lift a Set-In Hair Dye Mark with a Careful Spot Treatment
If soap and water leave a shadow, test 3% hydrogen peroxide before trying anything stronger. Dampen a white cloth with a small amount, place it over the mark for a few minutes, and check the result. Rinse with clean water and dry the floor after each attempt.
Isopropyl alcohol may help with a small amount of remaining residue, but use it only after a hidden-spot test. Wear gloves, open a window, and keep the contact time brief. Never mix peroxide, alcohol, bleach, ammonia, or other cleaners.
Try 3% Hydrogen Peroxide on Light-Colored Vinyl
Hydrogen peroxide can affect some colored vinyl and printed patterns, so don’t leave it unattended. Use a white cloth rather than a colored one, since fabric dye could transfer to the floor. If the test is unchanged, repeat the short treatment once, then rinse thoroughly.
Avoid soaking the area, especially near a seam. Liquid that remains at an edge can move beneath the flooring and contribute to lifting or swelling.
Use Isopropyl Alcohol Only for Small Residue
Put a small amount of isopropyl alcohol on a cotton swab or white cloth. Touch only the stained area and make one brief pass, rather than wiping across a large section. Rinse with clean water immediately, then dry the spot.
Prolonged contact can dull or soften some vinyl finishes. If the surface becomes sticky, cloudy, or rough, stop and wipe it with clean water.
What Not to Use on Vinyl Flooring
Avoid acetone, nail polish remover, paint thinner, abrasive powders, steel wool, and rough scouring pads. Strong undiluted bleach can also damage color and finish. These products may remove the dye while leaving a permanent dull patch.
Magic Erasers contain a mildly abrasive material. They can erase a stain, but hard pressure may also wear through the protective coating. Don’t scrub harder when the first attempt fails; switch to a tested, mild treatment or stop.
A clean-looking spot with a dull ring around it has still suffered floor damage.
When the Stain Will Not Come Out
A stain that remains after gentle cleaning may have penetrated a worn or damaged wear layer. If the mark follows scratches, peeling, or a rough patch, the dye may be below the surface rather than sitting on top. Repeated chemical treatments can cause more damage than the original stain.
Contact the flooring manufacturer for product-specific care instructions. A professional cleaner may also identify whether the mark is residue or permanent discoloration. When the material allows it, replacing one vinyl plank or tile can be more practical than treating the area repeatedly.
Look for Damage Around Seams and Edges
Inspect the floor after cleaning. Check for loose seams, lifted edges, bubbles, cracks, or softened areas. Moisture or cleaner trapped beneath vinyl can lead to further lifting.
If you find damage, stop applying liquid and let the area dry. Keep water away from the affected joint until you receive repair advice.
Prevent Hair Dye Stains During Your Next Color Treatment
Place a plastic-backed drop cloth or disposable waterproof covering beneath the sink, chair, or standing area. Keep paper towels within reach, and wipe drips as soon as they occur. A tray can hold bowls, brushes, gloves, and bottles so tools don’t rest directly on the floor.
Petroleum jelly can protect the sink or counter edge where dye tends to collect, provided it won’t affect that surface. Clean splashes before they dry, even if they look small. Dried spots require more rubbing and create more risk to the finish.
Choose Floor Protection That Won’t Trap Moisture
Use a waterproof covering that extends beyond the full work area. Rugs should have a stable, non-staining backing, and you should remove them after the coloring session. Dry any moisture underneath instead of leaving the covering in place.
Final Steps for a Safe Cleanup
Blot a fresh spill quickly, use mild dish soap first, and test every stronger treatment in an unseen spot. Rinse away cleaner and dry the vinyl, especially near seams and edges.
Harsh solvents and abrasive tools can create permanent damage while removing the stain. When a mark resists careful cleaning, manufacturer guidance is safer than continued scrubbing.