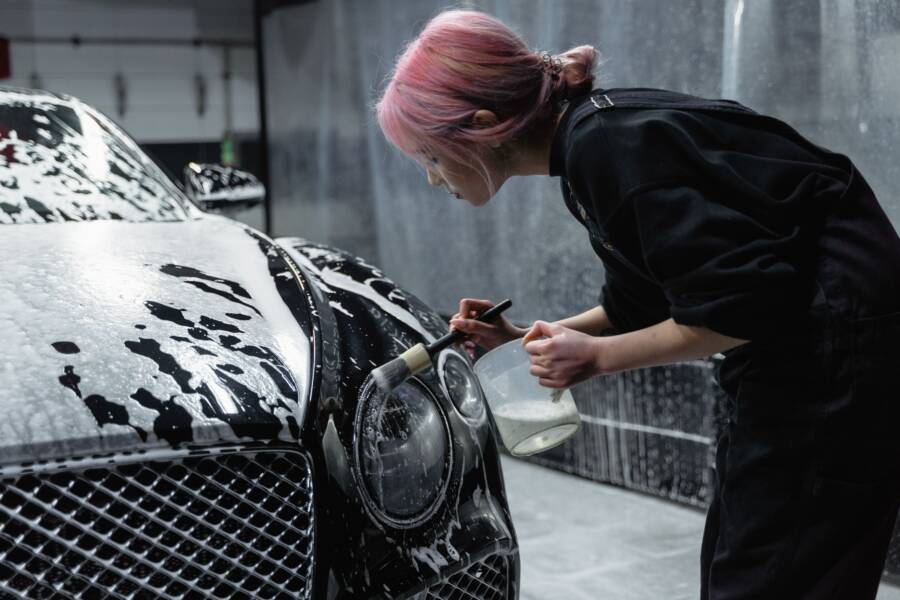
Fresh tar can usually be removed safely at home with a dedicated automotive tar remover, microfiber towels, and a gentle wash. To get tar off a car paint job, work on cool paint in the shade and let the product soften each spot before wiping.
Don’t scrape dry tar or attack it with harsh household solvents. Both can scratch paint or dull the clear coat. A careful process removes fresh deposits, shows when to stop, and helps prevent new spots.
How to Get Tar Off a Car Paint Job Safely
First, rinse the affected panel to remove grit that could scratch the finish. Wash it with automotive soap, then dry the area so the remover can contact the tar directly. Test the product under a door edge or another hidden spot before treating visible paint.
Apply a small amount of tar remover to the spot or a microfiber towel. Follow the label’s dwell-time instructions, then wipe in one direction with light pressure. Wash the panel again after the tar lifts, because leftover solvent can strip wax or leave oily residue.
Gather the Right Supplies Before You Start
Use car wash soap, two wash buckets with grit guards, or a safe rinseless wash setup. Keep an automotive tar remover, several clean microfiber towels, a soft detailing brush, and wax or paint sealant nearby. Nitrile gloves also protect your hands from repeated chemical contact.
Use one group of towels for tar removal and another for final drying. A towel that has picked up tar can drag residue across clean paint. Wash contaminated towels separately, or discard them if tar remains embedded in the fibers.
Use Gentle Pressure Instead of Scraping
Tar responds to solvent and contact time, not force. Avoid knives, fingernails, abrasive pads, plastic razor blades, and aggressive rubbing on painted panels. Even a soft plastic edge can trap grit and leave a visible scratch.
Fold the microfiber towel into quarters, then use a clean section as residue transfers. Wipe in one direction rather than scrubbing in circles. If a spot remains, apply another small amount of remover and repeat the process.
Choose a Tar Remover That Will Not Harm Clear Coat
A purpose-made bug and tar remover is the safest first choice because its directions address automotive exterior surfaces. Read the label for paint compatibility, ventilation requirements, dwell time, and rinsing instructions. Use the shortest recommended contact time, especially on older paint.
Keep the product on the tar rather than spraying a large section of the vehicle. Overspray can reach unpainted plastic, rubber seals, and matte trim that may react differently. Never let the chemical dry on the panel.
When Isopropyl Alcohol or WD-40 May Help
For faint residue, 70% isopropyl alcohol diluted with an equal amount of distilled water may help after a hidden-area test. Apply it to a towel, not directly onto the panel, and wipe promptly. Wash the area afterward to remove remaining alcohol.
WD-40 can soften some tar deposits, but it leaves an oily film that requires a thorough soap wash. Don’t use gasoline, paint thinner, acetone, brake cleaner, or engine degreaser. These products can stain trim, weaken finishes, or damage fresh paint.
Test Every Product in a Hidden Area First
Place a few drops on a concealed painted area, such as beneath the lower door edge. Wait only as long as the label permits, then rinse and inspect the surface. Stop if you see hazing, color change, soft clear coat, or damage near plastic and rubber.
A product that works on painted metal may still discolor textured trim, vinyl stripes, rubber seals, or aftermarket paint.
Remove Old or Hardened Tar Without Scratching Paint
Old tar needs repeated short treatments instead of extra pressure. Hold a remover-dampened microfiber towel against the spot for the labeled dwell time, then wipe gently. Reapply as needed, but don’t allow the towel or chemical to dry on the paint.
A plastic detailing scraper can help only after the tar has softened and the area is heavily lubricated. Keep it nearly flat and use almost no pressure. If scraping seems necessary, a professional detailer is the safer choice.
Handle Paint, Glass, and Plastic Trim Differently
Use paint-safe remover on painted metal and chrome, but keep it away from nearby trim. For windows, choose a glass-safe tar product and avoid dragging tar across the glass. Wipe the glass clean afterward to prevent oily smears.
Textured plastic often holds tar in its grain. Apply product sparingly, agitate with a soft detailing brush, and rinse carefully. Repeat the treatment rather than using a stiff brush that can leave shiny marks on matte trim.
Wash, Inspect, and Protect the Paint After Removal
Wash the treated panel with automotive soap after the tar is gone. Rinse thoroughly, then dry with a clean microfiber towel. Inspect the paint under bright sunlight or a strong work light for dark specks, streaks, or dull patches.
Tar remover often removes some wax or sealant along with the contamination. Once the panel is clean and dry, apply wax, paint sealant, or a compatible ceramic coating topper. Protected paint releases future tar more easily.
Check for Etching, Scratches, or Clear-Coat Damage
A raised or sticky spot usually means tar remains and needs another gentle pass. A flat dark mark, rough texture, dull patch, or visible scratch may indicate etching or clear-coat damage. Light defects may respond to polishing.
Peeling paint, cracking clear coat, and deep scratches require professional paint repair. Don’t polish damaged paint aggressively at home. More abrasion can make a repair larger and more expensive.
Mistakes That Can Damage a Car’s Paint During Tar Removal
Dry scraping is the fastest way to create scratches because road grit often sits inside tar. Dirty towels create the same risk, while circular scrubbing can leave swirl marks. Use clean microfiber, light pressure, and straight wiping passes instead.
Direct sun and hot panels speed up chemical evaporation. Solvent can dry before it softens the tar, leaving streaks or staining trim. Work in shade, treat one small area at a time, and never mix cleaning chemicals.
When Professional Tar Removal Is the Better Choice
Home removal is reasonable for a few fresh spots on intact factory paint. Book a detailer when tar covers several panels, mixes with construction residue, or appears near delicate trim and decals. Fresh aftermarket paint also needs extra caution.
Pricing depends on the number of affected panels, buildup thickness, needed paint correction, and added protection. Ask for an itemized estimate before approving polishing, wax, or ceramic-coating work. That prevents surprise charges for correction work you may not need.
Signs You Should Stop and Call a Detailer
Stop immediately if the paint changes color or the clear coat feels soft. Also stop when residue won’t release after several gentle applications, or when scraping appears necessary. Large tar patches and contamination around rubber, textured trim, or vinyl should go to a trained detailer.
Prevent New Tar Spots on Your Vehicle
Wash the vehicle regularly, especially after driving through roadwork zones or newly repaired pavement. Remove fresh tar within a day or two when possible, because it is easier to soften before it hardens. Leave extra following distance behind paving trucks and vehicles with exposed tires.
Wax or paint sealant won’t block every tar spot, but it creates a sacrificial layer between the deposit and the clear coat. Renew protection according to the product instructions and your driving conditions. Clean paint with intact protection is easier to maintain.
What to Keep in a Car-Care Kit
Keep automotive wash solution, clean microfiber towels, labeled tar remover, nitrile gloves, and a small bag for used towels in a compact kit. Secure bottles upright and don’t store chemicals in extreme heat. Check each product label before using it on an unfamiliar surface.
A Safe Finish for Tar-Free Paint
The reliable way to get tar off a car paint job is simple: wash first, use a paint-safe remover on cool paint, let the tar soften, and wipe gently. Rinse away the cleaner, then restore paint protection once the surface is dry.
When a spot resists gentle treatment, don’t force it with scraping or harsh solvents. Protecting the clear coat matters more than removing one stubborn mark at home.