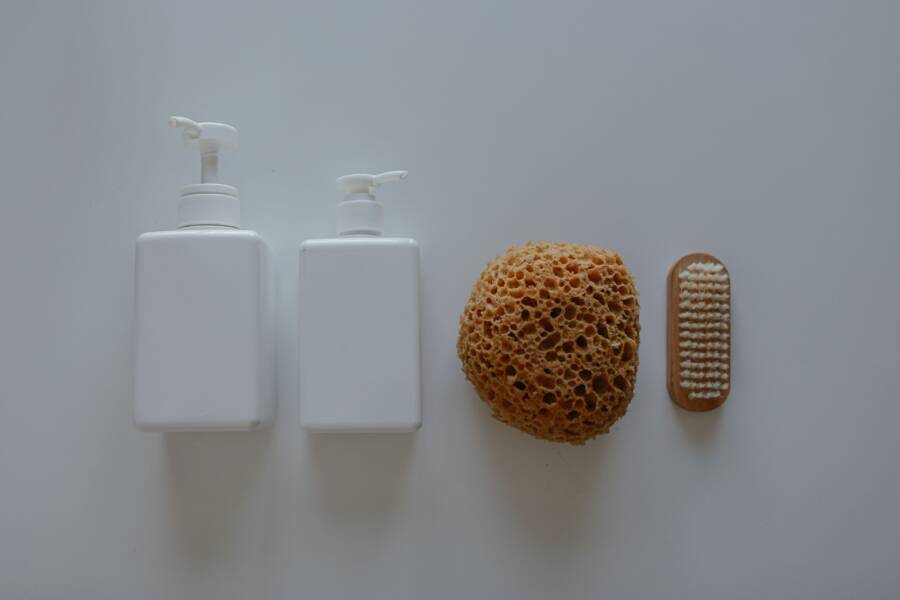
To get makeup out of a Beauty Blender sponge, wet it with lukewarm water, add a gentle cleanser, press and roll it, rinse until the water runs clear, and let it air-dry fully. Squeeze the sponge instead of twisting or wringing it, because rotational force can tear the foam.
Regular washing removes foundation, concealer, skin oils, and product residue that can cause odor and microbial growth. A dirty sponge can also blend makeup unevenly and leave more product on your skin. Follow the full cleaning method below, then use the storage and replacement tips to keep the sponge usable.
How to Get Makeup Out of a Beauty Blender Sponge
The five-step cleaning method
Use this process after applying liquid foundation, concealer, or cream makeup:
Hold the sponge under lukewarm running water until the entire foam feels saturated. Avoid boiling or hot water, which can weaken the material.
Apply a liquid brush or sponge cleanser directly to the stained areas. A small amount is enough for one sponge.
Press and roll the sponge between your fingers and palm. Work through the stained sections gently instead of scrubbing the surface.
Rinse under lukewarm water while continuing to squeeze and release the foam. Keep rinsing until no tinted water or cleanser comes out.
Press out excess water with a clean towel, then place the sponge in a clean, open area to air-dry.
When the sponge is clean
Squeezing is safer than wringing because it compresses the foam without pulling it in opposite directions. Repeat the cleanser and rinse cycle if tinted water continues to appear. A faint stain may remain after washing, but the sponge should feel clean rather than slippery or coated.
Choose the Right Cleanser for Makeup-Stained Sponges
A dedicated makeup sponge cleanser is designed for cosmetic residue and is usually the most direct option. A mild, fragrance-free soap can also work, provided you rinse it out completely. A gentle facial cleanser is another reasonable choice when it contains no harsh exfoliating ingredients or strong fragrance.
Avoid harsh formulas
Household cleaners, bleach, and strong alcohol can damage the foam and leave residues that irritate facial skin. Heavily fragranced products may also cause irritation, especially around the eyes and nose. Oil-based cleansers aren’t the best starting point because they can leave a film that water alone may not remove.
Use enough cleanser to loosen the makeup, not enough to create a thick layer inside the sponge. If the sponge still feels slick after rinsing, wash it again with lukewarm water and a small amount of mild cleanser.
Remove Dried Foundation and Stubborn Concealer Without Damaging the Foam
Soften the dried makeup
Dried foundation needs time to soften before you clean it. Soak the sponge in lukewarm water for about five minutes, then gently press it several times to help water reach the inner foam. Don’t pull at a hardened patch while the sponge is dry.
After soaking, apply a small amount of cleanser to the stained spot. Press and roll that area repeatedly, then rinse and check the result. This method loosens the product without scraping the foam with fingernails or a rough tool.
Treat stains without scraping
Repeat the softening and cleansing process once or twice for stubborn concealer. Stop if the foam begins to split or the surface becomes rough. Some cosmetic pigments permanently stain the material, so color alone doesn’t prove that makeup remains trapped inside.
A clean sponge should have no oily or slippery residue and should rinse without releasing tinted water. If it meets those conditions but still looks discolored, don’t keep scrubbing it in pursuit of a perfectly pale surface.
Use a Quick Cleaning Method When You Need the Sponge Right Away
A fast wash works between makeup applications or during a busy morning. Wet the sponge, apply cleanser to the most heavily stained areas, and press those sections several times. Rinse until the water runs clear, then press the sponge inside a clean towel to remove extra moisture.
This routine removes surface product, but it may not reach heavy buildup inside the foam. Complete a deeper wash later when the sponge has more time to dry. Never put a damp sponge straight into a closed makeup bag, because trapped moisture can encourage odor and microbial growth.
Clean a Beauty Blender Sponge Often Enough to Keep It Fresh
Wash the sponge after every use when possible, especially after applying liquid foundation, concealer, or cream products. A quick wash removes fresh residue before it dries. A deeper wash is needed when makeup has collected inside the foam or the sponge feels coated.
Signs cleaning is overdue
A sour smell, slippery residue, stiff spots, or uneven makeup transfer means the sponge needs attention. The same signs can appear when a sponge dries with product inside it. Wash it promptly, then let it dry completely before using it again.
Frequent use can shorten the time between replacements, even when you wash the sponge regularly. Cleaning reduces residue, but it doesn’t restore foam that has already deteriorated.
Dry and Store the Sponge Safely After Washing
Let air reach the whole sponge
Press out water with a clean towel, then leave the sponge in a well-ventilated area. Keep it away from damp counters, closed containers, and direct high heat. A clean open space allows moisture to escape from the center as well as the surface.
Don’t use a microwave, radiator, or hair dryer to speed up drying. High heat can damage the foam, while a microwave creates a safety risk. Direct sunlight can also dry or degrade the material over time.
Store it only when completely dry
Wait until the sponge feels dry throughout before placing it in a makeup case. A breathable holder or clean open space is safer than a sealed container for long-term storage. If you must carry it while slightly damp, use a clean ventilated case and remove it as soon as you arrive.
Replace the Sponge and Avoid Cleaning Mistakes
Know when washing is no longer enough
Replace the sponge if it develops tears, cracks, a rough or hardened texture, or a persistent odor after careful washing. Mold-like spots are also a reason to discard it immediately. Makeup that refuses to rinse out after repeated gentle cleaning can indicate that the foam has absorbed too much product.
Cleaning can’t restore damaged foam or make a contaminated sponge safe for facial use. Choose replacement based on condition and hygiene rather than a fixed calendar. A sponge used daily may need replacing sooner than one used occasionally.
Prevent avoidable damage
Avoid boiling water, rough brushes, fingernail scraping, twisting, and wringing. These actions can deform or tear the foam, leaving a rough surface that blends makeup poorly. Leaving cleanser inside may irritate skin, while sharing a sponge transfers oils, makeup, and microorganisms between people.
Never store the sponge while it’s wet. A closed bag holds moisture against the foam, which can lead to a sour smell and faster microbial growth. Clean the case or holder as well if product has collected inside it.
Conclusion
Wash the sponge after use, press it gently, and rinse until no tinted water or cleanser remains. Then dry it in open air and store it only after the foam is completely dry.
A clean sponge blends makeup more evenly and reduces avoidable residue and hygiene problems. When it develops damage, a lasting bad smell, or mold-like spots, replace it instead of trying to wash it back to life.