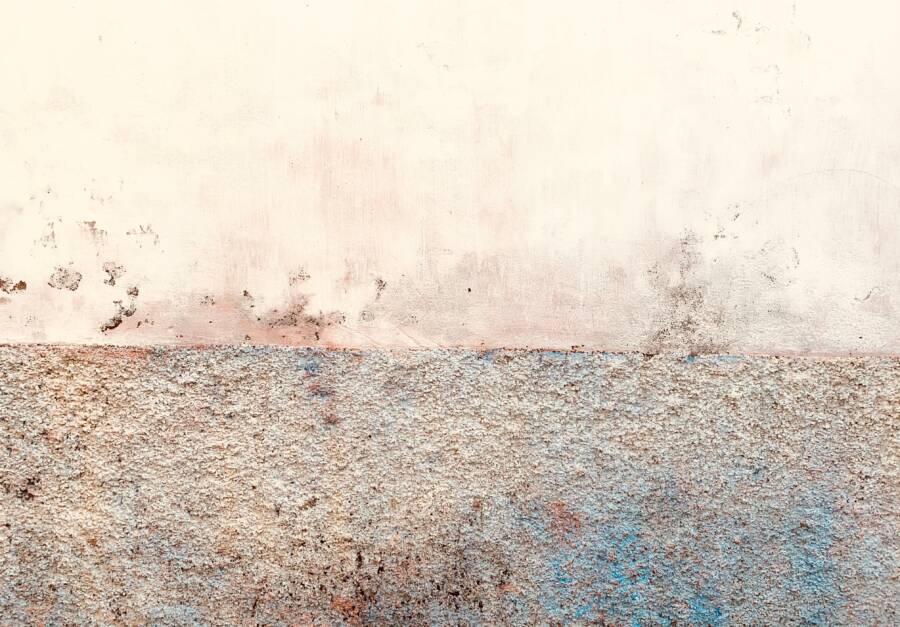
Blot fresh box dye on a painted wall immediately, then test a mild cleaner in a hidden spot before treating the mark. Use a clean white cloth, mild dish soap, and as little moisture as possible, especially on drywall or flat paint.
Success depends on how quickly you act, the dye formula, and the wall’s finish. Stronger cleaners may remove the stain while also damaging the paint, so touch-up paint can be the better fix. Start with the safest response below.
Box Dye on a Painted Wall: What to Do First
Put on disposable gloves and move towels, bottles, and other items away from the spill. Place an old towel or plastic sheet beneath the stain to catch drips. Use paper towels or a clean white cloth, since white fabric makes color transfer easy to see.
Blot rather than rub. Work from the outside of the mark toward the center, using a fresh section of cloth each time. Hot water, hard scrubbing, and excess moisture can spread dye or push it deeper into porous paint.
Fresh dye is still wet and usually gives you the best chance of removal. Partly dried dye needs gentle softening before wiping. Fully dried dye may have bonded with the paint surface, so repeated light treatment or repainting may be necessary.
Blot Fresh Hair Dye Before It Sets
Lift excess color with a dry paper towel or cloth. Press and release instead of dragging the towel across the wall. Once no wet dye remains, lightly dampen a clean cloth with mild dish soap solution and dab the mark.
Rinse the cloth often, then wipe away soap with a second cloth dampened with clean water. Dry the area immediately with a soft towel. On drywall and flat paint, avoid soaking the surface because water can leave a swollen, discolored, or uneven patch.
Protect the Floor and Test the Paint
Test every cleaner in an inconspicuous place, such as behind furniture or near the baseboard. Wait until the test area dries before judging the result. Flat and matte finishes can burnish, fade, or show shiny spots more easily than satin or semi-gloss paint.
Older paint and poorly sealed walls may absorb hair dye quickly. If the test patch changes color or texture, stop using that product. A washable, harder finish usually tolerates careful wiping better, but it still needs a spot test.
The Safest Cleaning Methods for Hair Dye on Painted Walls
Start with the mildest method and stop as soon as the stain lifts. Mix a few drops of mild dish soap into one cup of warm water. Dampen a microfiber cloth, then wring it out until it feels almost dry.
Dab the stain, rinse the cloth frequently, and wipe the area with clean water. Dry the wall after each pass. This approach works best on fresh dye and washable finishes, while porous flat paint may hold some color below the surface.
If soap leaves a shadow, make a thin paste with baking soda and a small amount of water. Apply it briefly with very light pressure, then wipe it away completely. Baking soda is mildly abrasive, so repeated scrubbing can remove paint.
For stubborn or dried dye, test 70% isopropyl alcohol on a cotton swab in a hidden spot. If the paint remains unchanged, use short dabs on the stain with ventilation and gloves. Wipe the area dry at once, and never mix alcohol with bleach, ammonia, or another cleaner.
Which Cleaners Can Damage a Painted Wall
Avoid acetone, nail polish remover, bleach, ammonia, strong bathroom cleaners, steel wool, and rough scrub pads. These products can discolor paint, soften its coating, or leave a dull area that catches the light. They can also spread the dye instead of lifting it.
A melamine sponge can cause similar trouble when used aggressively. It removes marks through abrasion, so it may strip the paint’s top layer. Never combine bleach with ammonia, alcohol, or other cleaning products because the mixture can create dangerous fumes.
Why Magic Erasers and Solvents Are Risky
Melamine cleaning sponges act much like very fine sandpaper. On flat finishes, even a few firm passes may create a lighter or shinier patch. If you must use one, apply minimal pressure for a short time after testing it first.
Solvents can dissolve or soften certain paint coatings. The same product that breaks down hair dye may also remove the wall color. Use stronger products only when necessary, keep contact time short, and stop at the first sign of color or texture change.
How to Remove Dried Box Dye Without Stripping the Paint
Begin by placing a barely damp, soapy cloth over the dried mark for a short period. The goal is to soften the residue, not saturate the wall. Dab and wipe gently, then dry the area before deciding whether another pass is needed.
If a raised spot remains, use the edge of a plastic card to lift it carefully. Keep the card nearly flat and avoid scraping into the paint. Only after these steps should you try a tested baking soda paste or diluted alcohol.
Several light passes are safer than one forceful scrub. Stop when the wall starts to look lighter, shinier, or rougher than the surrounding paint. At that point, continued cleaning is likely to create a larger repair than the original stain.
Treat Porous Flat Paint Differently From Glossy Paint
Flat and matte paint have less sheen and can hold dye inside their porous surface. Complete removal may be unlikely, especially with dark red, purple, or black formulas. Satin, eggshell, and semi-gloss finishes are usually easier to wipe, but solvents and abrasion can still damage them.
Check the finish before choosing a method. A small test area can reveal whether the paint tolerates moisture and light rubbing. If the surface changes during testing, skip stronger cleaners and plan a touch-up.
When Cleaning Fails, Touch Up or Repaint the Wall
Stop cleaning when the dye has soaked in, the mark remains after two or three gentle attempts, or the wall develops a faded or shiny patch. Let the area dry fully before repairing it. Lightly smooth rough edges with fine-grit sandpaper, then remove dust with a dry cloth.
Use stain-blocking primer if the dye still shows through or the wall has absorbed strong color. Match the original paint’s color, sheen, and type, then apply thin coats. A touch-up may remain visible if the surrounding paint has aged or faded.
Sometimes a full wall repaint is necessary. Paint from the same can may look different after years of sunlight, cleaning, and wear. Test the repair in a less visible area before covering the stain.
Choose the Right Primer and Paint Match
A stain-blocking primer helps keep dye from bleeding through new paint, particularly on light-colored walls. Allow the primer to dry according to its label before applying paint. Thick coats can create a raised patch, so build coverage gradually.
Match more than the color. Eggshell, satin, and semi-gloss finishes reflect light differently, while latex and oil-based paints behave differently during repair. Even a close color match can stand out if the sheen is wrong.
How Long Hair Dye Takes to Set on Wall Paint
Treat the spill within minutes for the best chance of removal. Address partly dried dye the same day, before it hardens completely. Fully dried dye often needs repeated gentle treatment, and some marks require primer and repainting.
Heat, porous paint, textured walls, and dark or red dye can make stains harder to remove. Texture also traps color in grooves that a cloth cannot reach. Avoid adding heat to the area because it can dry the dye faster.
Prevent Box Dye Stains During Your Next Color Treatment
Cover the wall near your work area with an old towel or a plastic-backed sheet. Keep paper towels and a small bowl of soapy water within reach before opening the dye. Never rest an open bottle against a painted wall.
Follow the product directions and wipe drips as soon as they appear. Protect floors and nearby trim as well, since dye can travel when a wet towel or glove touches another surface. A few minutes of preparation can prevent a permanent wall repair.
Conclusion
Blot quickly, begin with mild dish soap, and test every stronger cleaner before using it on the visible mark. Use light pressure and stop if the paint becomes lighter, shinier, or rougher.
When dried or absorbed dye resists gentle cleaning, primer and matching touch-up paint are safer than continued scrubbing. The best result comes from removing the excess color before the wall has time to absorb it.